
Fermentation of homebrew is a sacred process that shouldn’t be disturbed by any means. When I was just beginning with homebrewing beer I made many mistakes during fermentation and now I feel obliged to warn you not to do the following so you don’t have to fail as many times as I did.
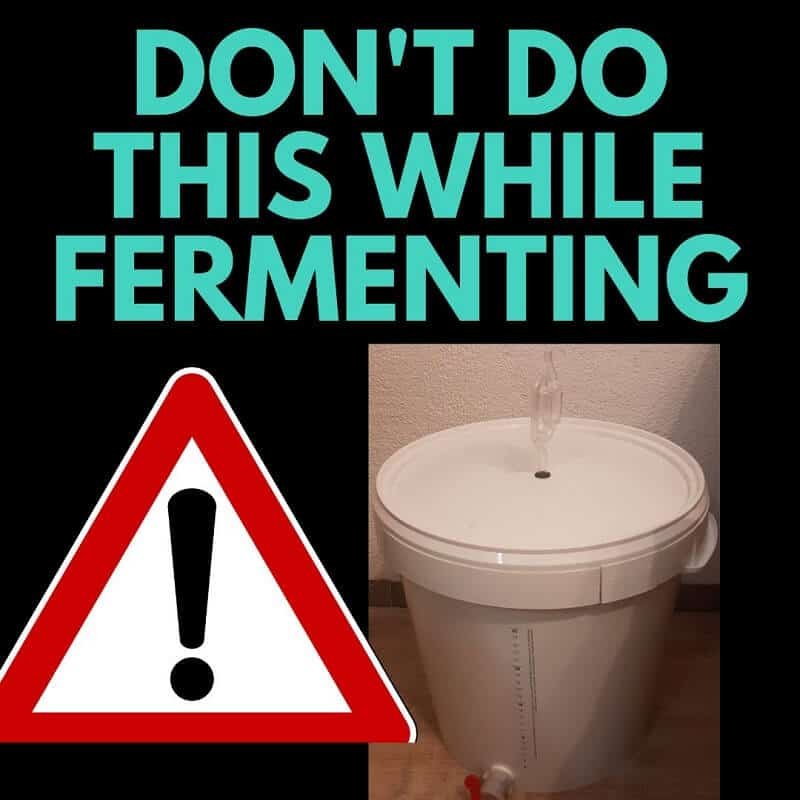
You see, all you need for a healthy fermentation is to make wort, have a proper container with an airlock and good seal along with the yeast, and the environment which will support the hard work the yeast has to go through.
However, making mistakes is in human nature, so avoid the next things and you should always have a perfect fermentation!
1. Stirring homebrew during fermentation
To stir or not to sir? Absolutely do not ever stir your homebrew during fermentation. There isn’t a single point why stirring would help the yeast and fasten the fermentation except that it opens room for mistakes which can ultimately ruin it.
When you stir the homebrew during fermentation you can accidentally infect it by introducing outside germs if you are not careful, but even if you don’t infect it, stirring may introduce oxygen which is bad for the yeast during fermentation.
Fermentation needs time to complete and if the yeast has enough nutrients, has strength in colonies, and is found in a sweet environment, eventually it will absorb all sugars into alcohol and Co2 and you’ll have a complete fermentation.
Yeast doesn’t need any stirring or shaking to do its job during its work, so leave it alone.
2. Moving a fermenter
Moving a fermenter just like shaking it can introduce oxygen into your wort which is as you know, not a good recipe for successful fermentation. You may feel that there’s no oxygen in a sealed environment, but oxygen is everywhere from the top of the fermenter to the outside of it and there’s a way for it to enter the liquid when you disturb things.
Fresh oxygen can enter through an airlock when you lift it, shake it, or disturb it by any similar wrongdoing which causes the pressure to suck in the liquids from the airlock.
Moreover, the liquid drained from the airlock can contaminate your homebrew.
Regarding the issue with the airlock drain, you should use vodka(preferably) or Starsan/water mixture so even if some liquid ends up in there it doesn’t store any nasty germs.
If you are lazy homebrew and use plain water in your airlock, after some time it can get spoiled and nasty things can grow in it.
So, do not lift, shake or move a fermenter before the fermentation is complete.
3. Opening a lid
Don’t open a lid before the fermentation is complete unless you have a good reason to do so. There’s nothing interesting going on that you have to observe, just give the yeast some privacy. I mean, nobody likes to be supervised for no reason and the yeast is a shy worker.
When you open a lid you may accidentally drop something in and cause infection and the oxygen exposure is never nice.
However, you will have to open a lid to continue with the secondary fermentation or eventually to fill the bottles and it’s perfectly normal.
4. Removing airlock
Did you know it’s possible to ferment without an airlock and that some homebrewers do it? It’s called open fermentation and it’s a real practice in breweries, but you should be careful.
When the fermentation kicks in, the yeast constantly produces lots of Co2 which evaporates through any holes. When you don’t use a fermenter, the Co2 will form in thick layers at the top and create a natural barrier that will prevent the oxygen from entering.
However, this is not a smart practice for homebrewers and you shouldn’t remove your airlock because near the end, the Co2 levels will get reduced and without proper techniques (like installing an airlock at the end) you may introduce oxygen in.
Moreover, a big hole at the top means more room for something to drop in, so avoid open fermentation and always create a nice seal along with your airlock.
5. Letting the airlock get empty
Using the wrong liquid in your airlock is a sin on its own, but letting the liquid evaporate completely denies the purpose of airlocks.
There should always be enough liquid in your airlock that the bubbles need to form on one side, take some time to build up, and pass through to the other side.
If there’s no visible membrane that creates this pathway for the bubbles it means the oxygen can enter at free will and it’s bad.
Evaporation is not common if you begin with enough liquid on the first day of fermentation but it may happen in a warm environment, especially during longer fermentation periods.
5. Changing temperature
A golden rule for fermentation temperature says that once you determine the point in the range at which you want your yeast to work, do not change it!
Yeast can work within its natural range which is written on the package, but it will always produce different characteristics at different points of such a range.
Fermenting at the higher end may create fruity aromas while fermenting at the lower point of the range may create crispier notes with less fruity aromas. This, of course, depends on the yeast you use, so it’s not that simple but you get the point.
Changing the temperature will confuse yeast and you may end up with unwanted flavors if you are not keeping one temperature with allowed small deviations.
So, just keep it as stable as possible and you’ll be good. If you need heat belts to achieve this use them. I have written a guide that will help you achieve and maintain the right fermentation temperature.
I know it’s not always possible to keep absolute control and it happened to me many times that the room temperature would drop because the weather would worsen, but since I started to watch the forecast with attention I fixed this problem.
It only takes a week for my beers to ferment, so it’s not that difficult to predict the weather for a week in advance, but some of my heavier beers and meads sometimes suffer when it takes 8-10 weeks to finish fermentation.
6. Being impatient
Just like with everything in life, it takes time for good things to happen. Fermentation can’t be instant and can hardly be hastened because yeast takes time to eat all the sugars.
Being impatient can mean unfermented sugars in your homebrew and it almost always means bad homebrew.
If you are brewing simple beers rarely will fermentation take longer than 10 days, but you may encounter some difficult fermentations and that’s when you need to give it enough time.
It once took me 12 weeks for my traditional mead to reach the desired gravity (from 1.075 to 0.098) but that’s when I considered it done. It was annoying to take readings each week and repeat the process because I was so tempted to bottle it, but I endured.
Patience is the king, homebrewing teaches us a lot about self-discipline.
7. Returning samples back
The most gravity readings I ever took were for my traditional mead, I remember taking like 5 readings which equals two bottles worth of mead.
However, I never returned the samples back, and instead, I enjoyed the somewhat sparky mead in a glass and documented the progress.
The beer is not that good unfinished but you can still track the progress and learn. It’s possible to return the samples, but you have to sanitize everything and open a lid to return not so much. This is a greater risk than good for beginners and those impatient, so unless you know what you are doing do not return the samples back.